Difference between revisions of "Talk:Recording: Using Audio HiJack"
(→EDITING your new Recording) |
(→Starting the application) |
||
| Line 3: | Line 3: | ||
===Starting the application=== | ===Starting the application=== | ||
| − | 1. Begin by starting the software called Audio HiJack, located at the menu bar at the bottom (also in the Mac's "Applications" folder). | + | :1. Begin by starting the software called Audio HiJack, located at the menu bar at the bottom (also in the Mac's "Applications" folder). |
| − | + | ||
| − | + | ::[[File:opening.jpg|300px]] | |
| − | + | :2. Next, be sure that the buttons labeled '''HiJack''' and '''Mute''' are engaged and shown darkened, as in the illustration below. | |
| − | [[File:hijack-step2.jpg]] | + | :3. Choose '''Quick Record''' from the list at left. |
| + | |||
| + | ::[[File:hijack-step2.jpg|600px]] | ||
===File naming and settings=== | ===File naming and settings=== | ||
Revision as of 23:45, 5 March 2015
Contents
How to Create a WideOrbit-ready recording with Audio HiJack Software
Starting the application
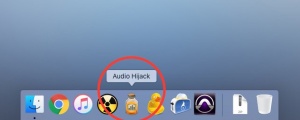
- 1. Begin by starting the software called Audio HiJack, located at the menu bar at the bottom (also in the Mac's "Applications" folder).
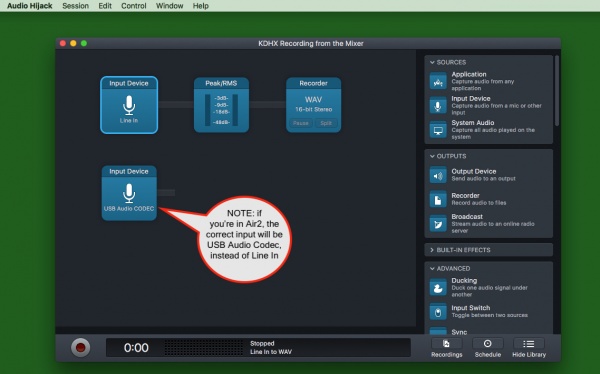
- 2. Next, be sure that the buttons labeled HiJack and Mute are engaged and shown darkened, as in the illustration below.
- 3. Choose Quick Record from the list at left.
File naming and settings
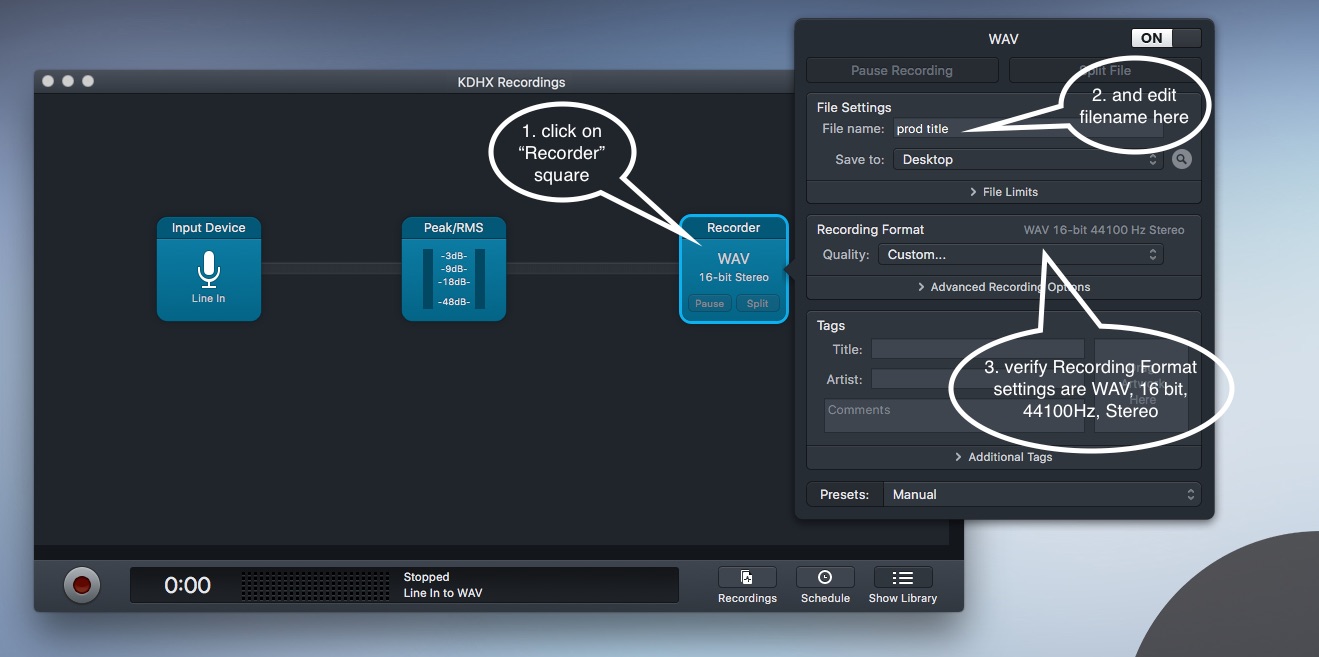
4. Double check these settings are as above:
Recording settings
- Format: Custom, WAV, 16-bit, Stereo -
- Save recordings to: ~/Desktop
- Name recordings with: [YOUR PRODUCTION TITLE] e.g. "Wax Lyrical pre-record"
- cool feature: if you leave "&date" in place, the current date will be included in the filename. Similarly, "%time" will label the file with the recording start time. These labels can be very helpful later.
Effects settings
- Gain = 100%
- Dry/Wet Mix = Wet
Recording
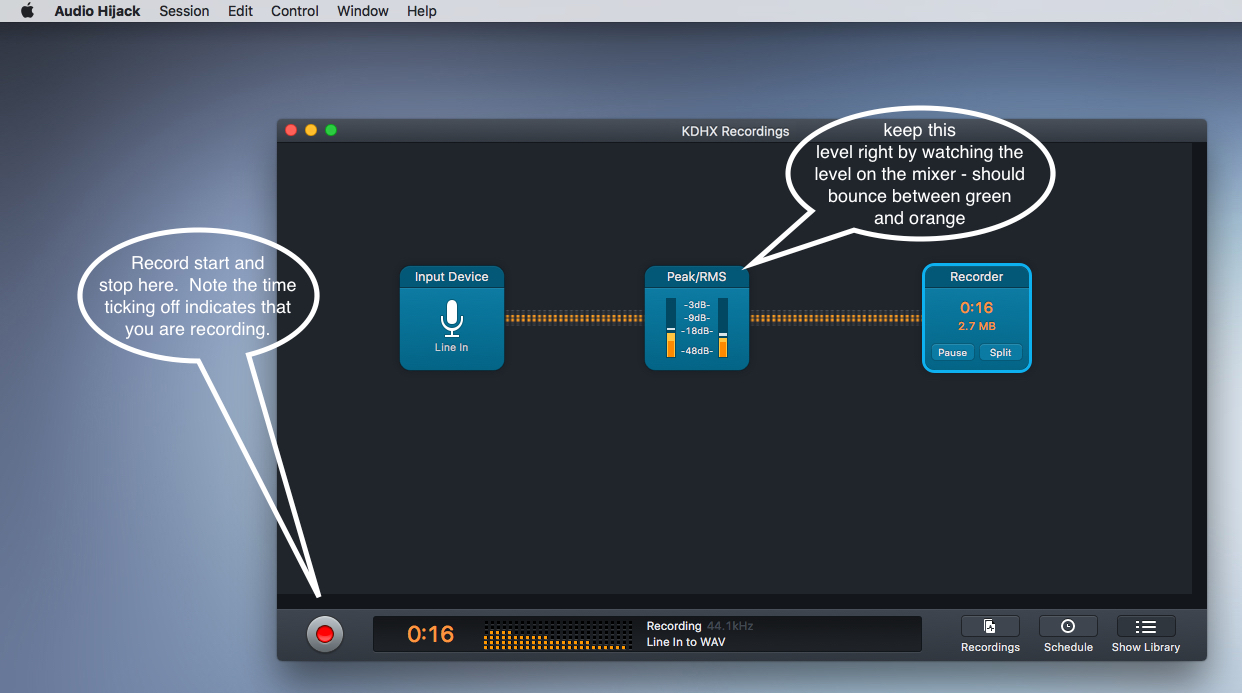
5. Test level from board - play music or speak on mic, and look for levels registering on the meters at the top. If you see blue level here, it is receiving audio from the board - use the board's meter as your guide to the correct level during recording.
6. Click Record to begin recording - when it is darkened/grey, it is recording.
7. Click Record again to stop recording - the new audio file will automatically save to the location set by "Save recordings to:"
8. Click Pause to temporarily stop recording, and release pause to continue with the same recording
9. Click Split to immediately save the file where you're at, and simultaneously begin a new recording
Editing your new Recording
Sound files that are recorded in Audio HiJack are easily edited and converted to other file formats using the companion software Fission (click for instructions.


