Talk:Editing Basics
From KDHX Production
Now that you’ve laid down the audio, you can use Pro Tools to edit as needed by using the “picture” of audio it has built.
- First thing’s first... in order to avoid feedback, take the track off of record mode (turn that red R off) so that it looks like this:
- Turn the microphones off on the mixer by hitting the off button (Studio A) or by muting them (Studio B). It is now safe to turn on the “Computer (M-Box)” channel on the mixer. Set this to “0” (Studio A) or 12:00 (Studio B).
- Always edit voice while wearing headphones. You're much more likely to hear unwanted breaths and other sounds using this method.
- Put the project in SHUFFLE mode.

- Double-click the ZOOM tool
 to see the full view of all content.
- Using the SELECT tool
 highlight approximately .5 seconds of silence from the end of your track. You can check the length of the highlighted material by looking at the “length” at the top of the screen. Hit the space bar to play back the highlighted material. Listen to make sure that it is clear silence free of any voice and contains the least amount of background noise, as it is what you will use to paste over breaths and other unwanted sound throughout your recorded track (this is called ambience editing). After you have verified this, hit apple+C on the keyboard to copy the silence.
- NOTE: .5 seconds is the approximate length of a period, while .25 seconds is the approximate length of a comma. However, these will differ depending on the pace of speech.
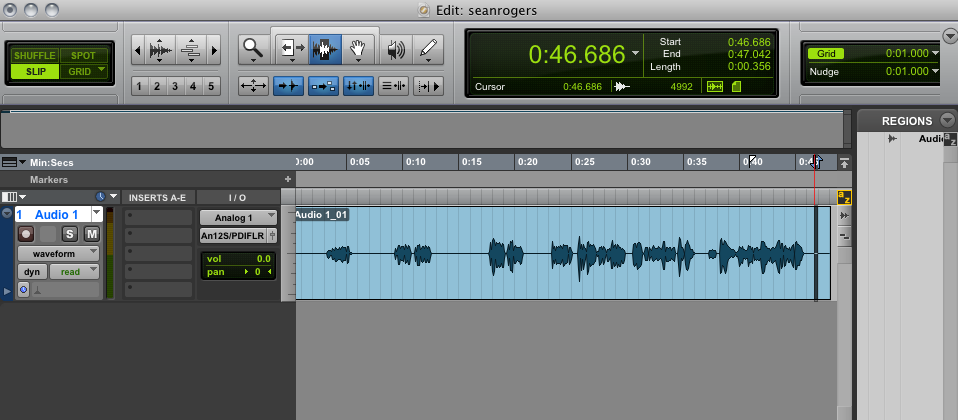
- Use the “ZOOM” tool to click and drag around the back end of your track to zoom in on that section. Now, using the “TRIM” tool, crop off any extraneous material. Note that any material that is cropped or deleted appears to the right under the “Regions” menu on the right. You can click and drag out any portion to bring the waveform back into the track using the trim tool later.
- Double-click the “ZOOM” tool to return to full view and repeat the above step to the front end of your track.
- Click on the “BACK TO THE BEGINNING” button to set the playback point to the beginning of the track. Hit the space bar and begin listening carefully for mistakes and things such as breaths, the sound of paper ruffling or chair squeaking and popping p’s.
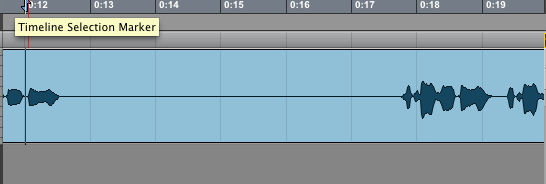
- When you encounter one of these mistakes, hit the space bar to stop the recording. Using the “ZOOM” tool, click and drag around the problem area for a closer view. Set the playback marker (the blue diamond) a few seconds behind the mistake by clicking above and behind in the timeline.
- Once the problem has been pinpointed, use the “SELECTOR” tool to highlight said problem. Hit the space bar to listen to the selected area.
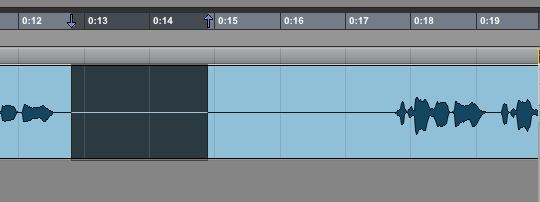
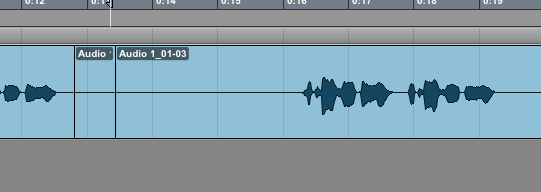
- Then, hit apple+V to paste the silence you copied early over the selected area. It will look like this:
- If the silence is meant to be a period, leave the length as is. If it is meant to be a comma, click in the middle of the section with the “TRIM” tool to crop the
silence in half. At any point, you can bring back material that has been pasted over by clicking and dragging out the ends of sections with the “TRIM” tool.
- Remember that the recording still needs to sound natural, so when listening back to the edit, make sure the rhythm of the recording still sounds appropriate. Adjust the amount of inserted silence as necessary.
- Hit the space bar to continue listening and editing in this manner until all mistakes have been edited out.
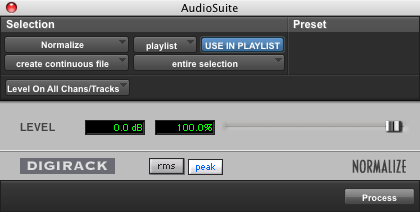
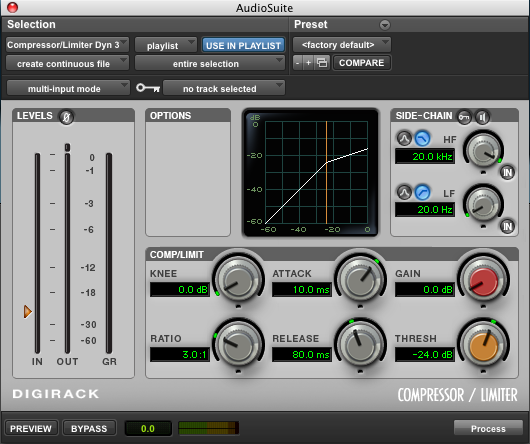
- After editing is complete, select all the sections by triple-clicking in any section with the “SELECT” tool. Then, compress and normalize through the AudioSuite menu.
Compression softens waveform spikes so that the peaks are lowered to a similar average and enhances primary frequencies. To Compress, go to AudioSuite → Dynamics → Compressor and click “Process.”
Normalization changes the average peak volumes of the track to the “normal” (full volume) level. To Normalize, go to AudioSuite → Other → Normalize and click “Process.”
